Roadside repairs
I have had two punctures in the last month while commuting. Repairing punctures on the roadside is a necessary reality for every cyclist sooner or later and makes the difference between a 10 minute delay and being totally stranded. I can tell you I mutter all kinds of things when I get a puncture which I won’t go into right now – but you can easily imagine what runs through my mind.
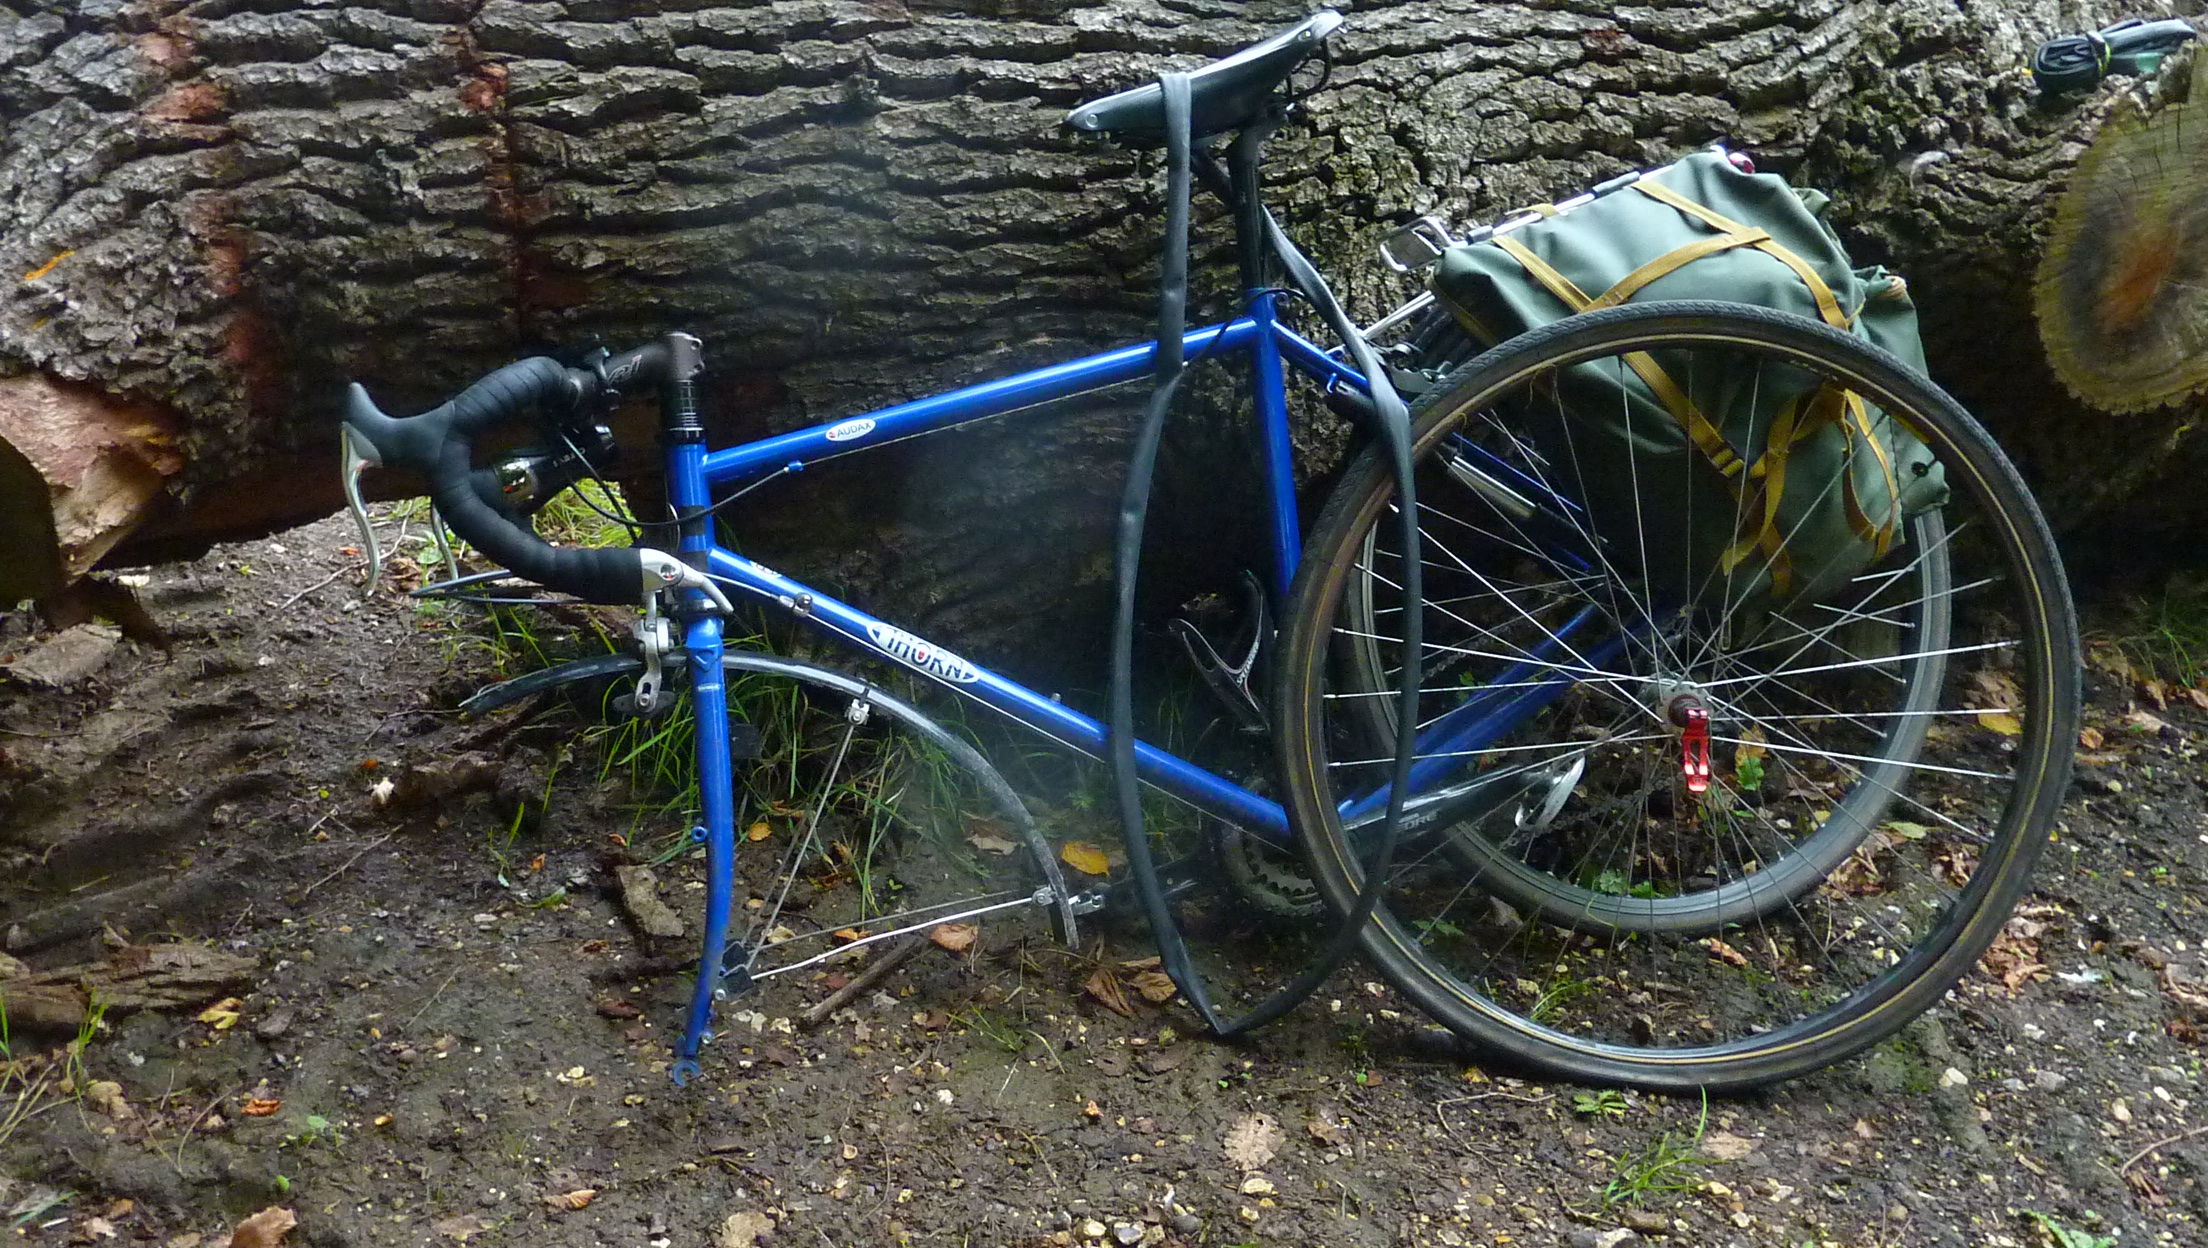
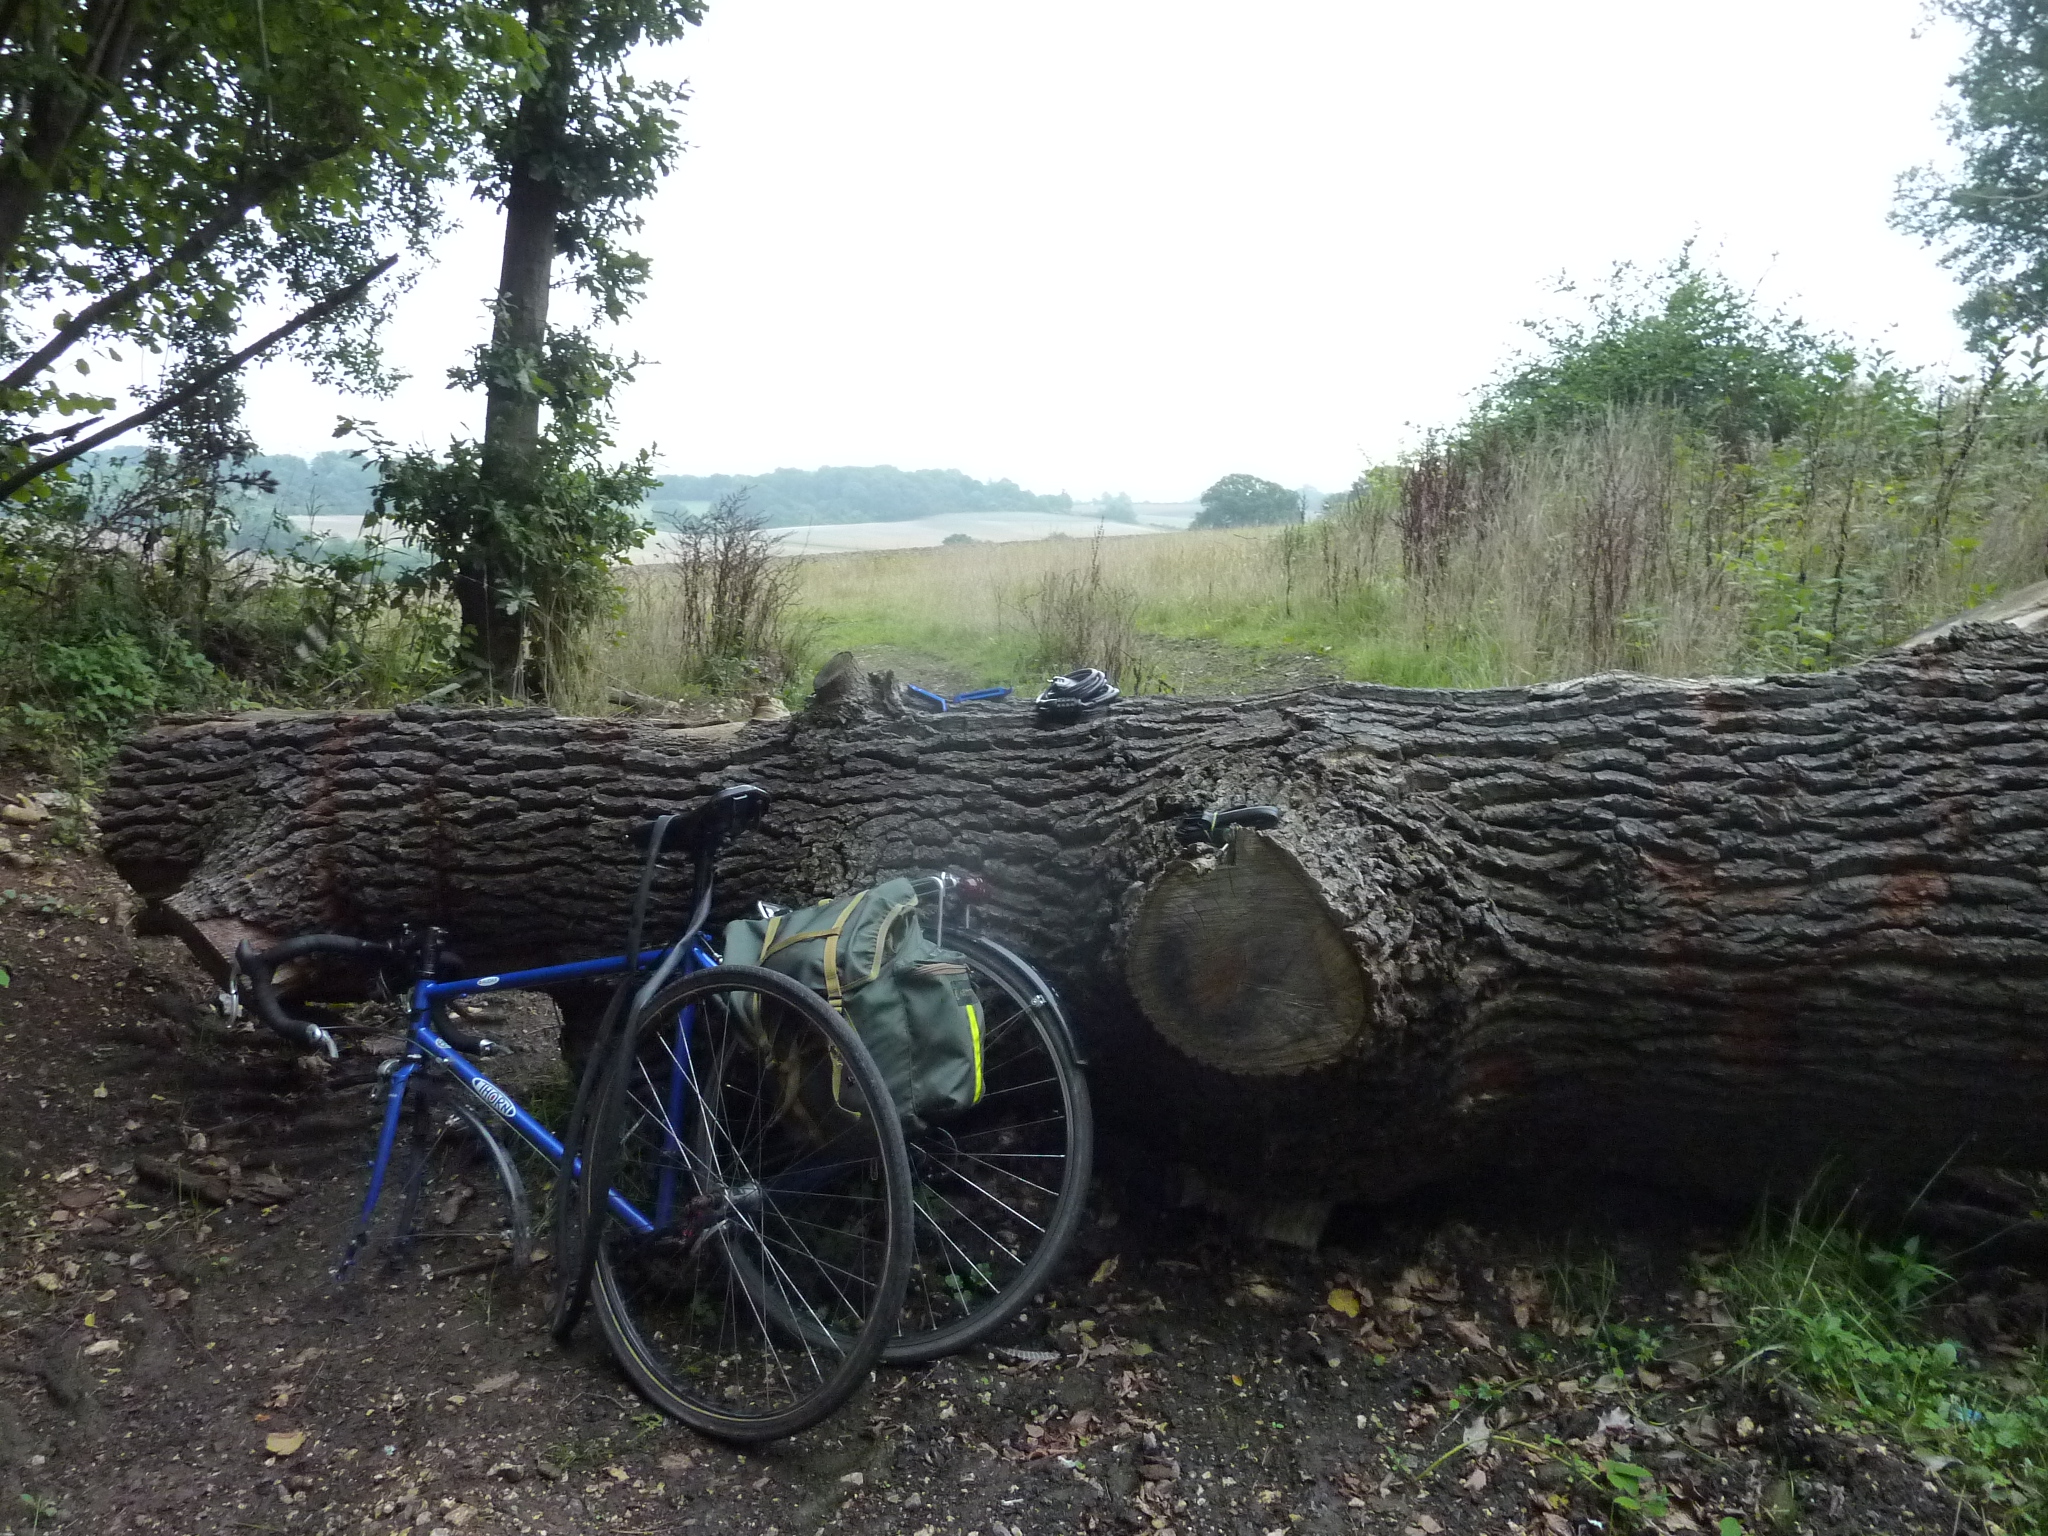
My 20+ mile journey to work takes me through urban and rural areas, which have their own hazards – bits of broken glass in the towns and thorns in the countryside. This subject also makes me wonder why I was stupid and bought a bike made by Thorn (only joking!).
For every cycle ride, I make sure I have:
- a pump for inflating tyres
- a spare inner tube (possibly two?)
- tyre levers.
- glueless or self adhesive patches
- a mobile phone
- a spanner to remove the wheel, unless you have quick release hubs
How long a tyre takes to go flat can range from a few seconds to a few hours, depending on the size of the hole. Last week while I was riding home from work, I was just about to climb a hill and the road had quite a lot of gravel, dirt, patches of mud etc all over it. The front wheel made a funny noise and I assumed a leaf or something had got caught in the mudguard, so initially I carried on. Within a few yards it was sounding worse and I stopped and then I could see the tyre become totally flat.
I knew there was a gap at the side of this narrow country lane about 50 metres up the hill so I pushed the bike there, so I’d have a safe place to deal with the puncture on this quiet rural road. As I was pushing my bike, suddenly loads of cars came zooming through. How embarrassing, they probably thought the hill was too steep for me and I’b bottled out right at the bottom….
The actual repair is pretty straight forward:
- slacken off the brake if necessary. Most brakes have some means of doing this, either on the lever or the brake calliper
- if you’re taking off the back wheel it is probably easier if you put it in top gear (small sprocket) as this will make it easier when you refit the wheel
- once you’ve got the wheel off the bike, take a look around the tyre to see if there is anything obvious causing the puncture. If there is a thorn or something sticking in the tyre, it might be worth simply patching the tube. Otherwise…
- using a tyre lever(s) take out the inner tube and pump it up a little to find the hole. Take care not to move the tyre on the rim as you might want to take a good look at the tyre and make sure you’re not going to get another puncture
- either patch the hole a using glueless (or self adhesive) patch or use a new inner tube. Don’t waste your time messing around with traditional glue which takes time to dry before the patch is applied – these seem awful nowadays in comparison with patches like the superb ones made by Park and others
- Double check there is nothing else which is going to cause a second puncture. Nothing else sticking in the tyre or any other rim damage etc?
- Once the tyre is back on, pump it up a little and spin the wheel. Does the tyre seem evenly fitted or does it bulge? You might need to wriggle the tyre around to make sure it’s properly seated on the rim
- Pump the tyre up as hard as you can – most road tyres need to be at least 80psi which can be hard work with a hand pump.
- Put everything back where it should be, get yourself sorted out and carry on but do pay some attention to the tyre afterwards; just to make sure the repair is still good.
- Sometimes you hear of cyclists simply discarding inner tubes in hedges or in a lay-by. Don’t do it!!!! Don’t go getting the rest of us cyclists a bad name if that’s okay. Besides, if you’re a thrifty person like me, you can repair the old inner tube easily at home and save yourself a few quid
If you get a run of punctures, do you need new tyres? What’s going on? Why? What’s causing them? Check out my previous post on preventing punctures.
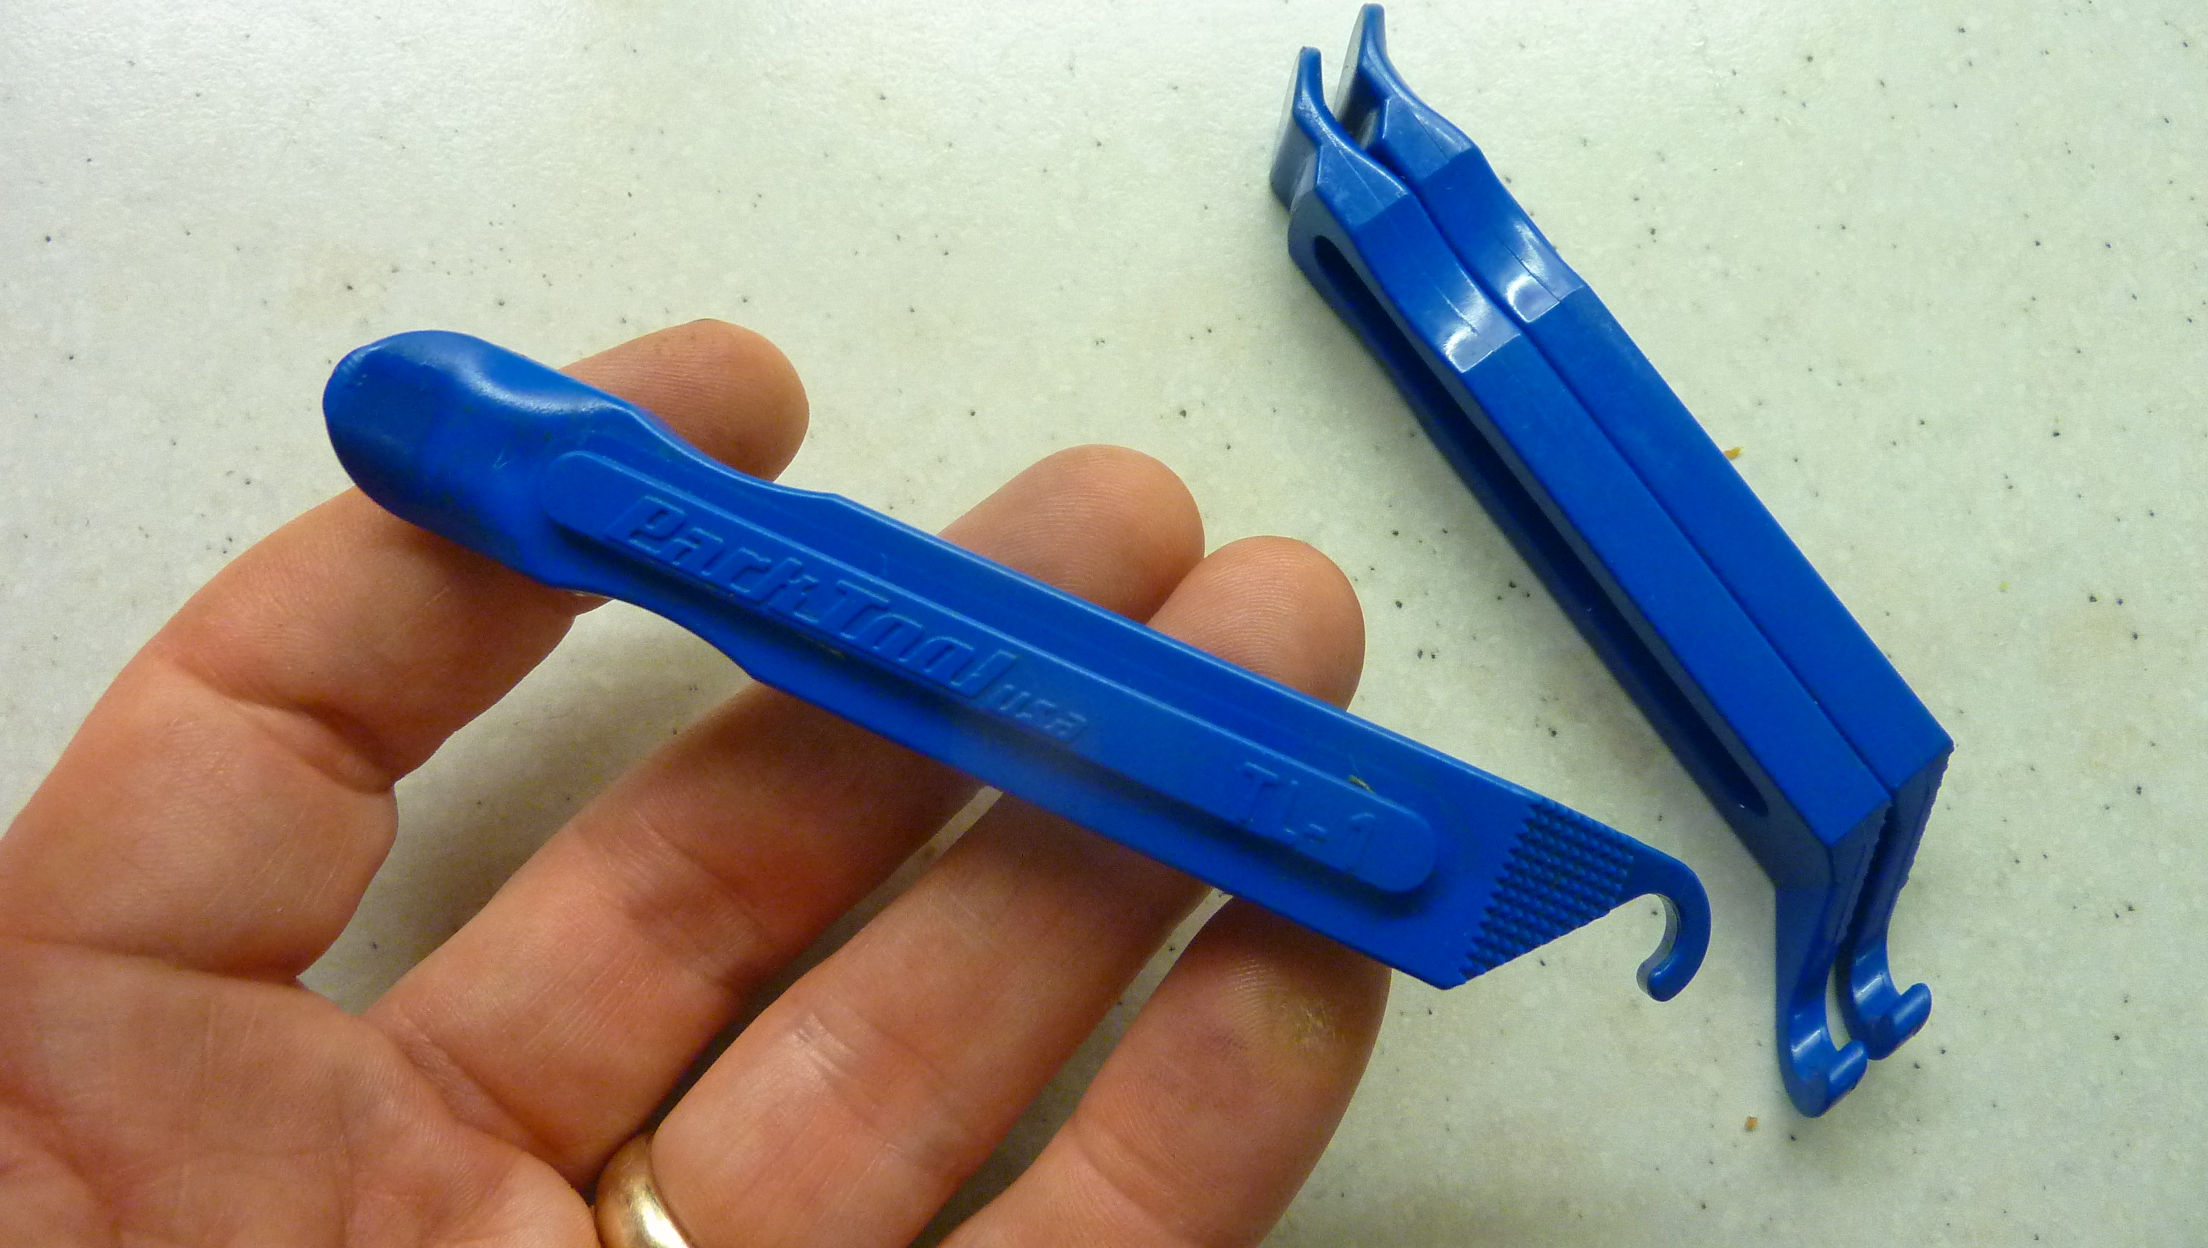
Park tyre levers are excellent
I have tried lots of different tyre levers over the years and these made by Park Tools are the best in my view. They work nicely and in bright blue you’re less likely to misplace them. Their self adhesive patches are great and come in a little container barely any bigger than a postage stamp (so no excuses about having it with you!).
Finally, if you come across another cyclist who has his, or her, bike in bits and clearly having a problem, please make sure they are okay. Please don’t be one of those aloof and snooty cyclists who doesn’t acknowledge or recognise other cyclists.

Self adhesive patches by Park Tools are superb


 RSS – Posts